Wind is a powerful force of nature that can leave devastation in its wake. When it comes to your home, the roof often bears the brunt of severe weather. Understanding how to repair wind damage not only protects your investment, but also ensures the safety of your family.
This guide gives you a complete rundown on fixing roof wind damage, with easy steps and expert tips for homeowners ready to dive into DIY repairs.
Assessing the Damage
Before any repairs can take place, a thorough assessment of the damage is necessary. Begin with a visual inspection from the ground, looking for missing shingles, dents, or debris on the roof. If safe, inspect the roof up close to get a better understanding of the extent of the damage. Use binoculars for a clearer view of hard-to-see areas without risking safety. Take notes and photos to document the damage for insurance purposes.
Safety First
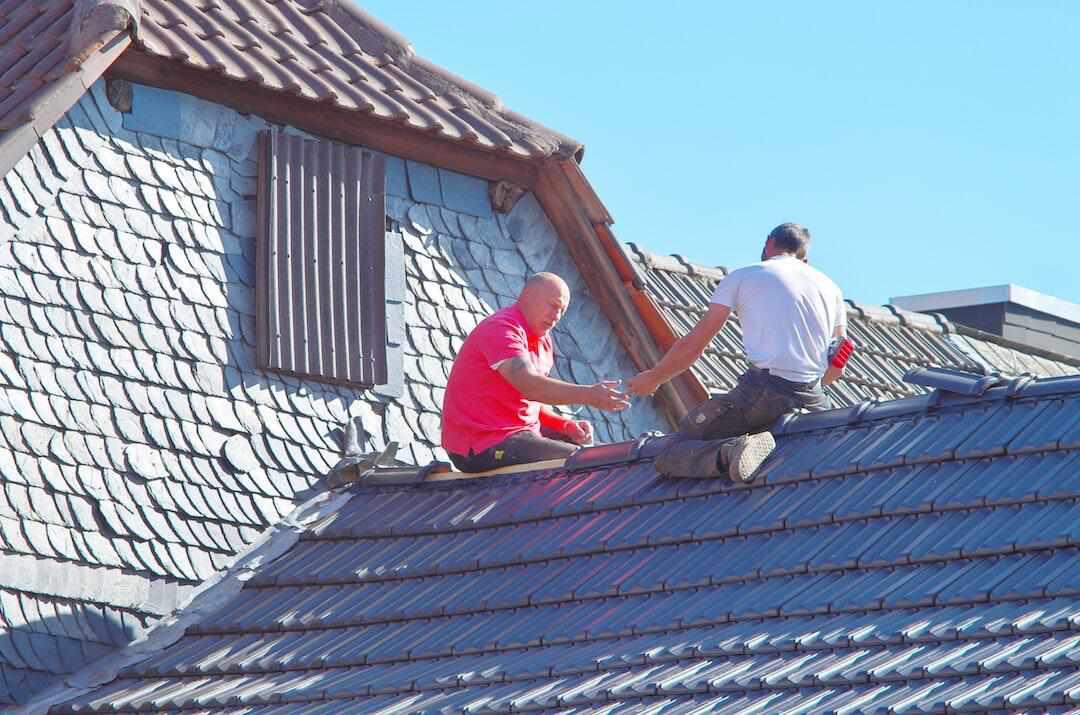
When it comes to roof repairs, safety comes first. Make sure you have the right equipment, such as a reliable ladder, non-slip shoes, and a harness if needed. Work with a partner whenever possible, as having someone assist or call for help in case of an emergency is crucial. Avoid working on the roof during wet or windy conditions, as this increases the risk of slips and falls.
Gathering Essential Tools and Materials
Having the right tools is essential for efficient repairs. You’ll need replacement shingles, roofing nails, a hammer, roofing cement, and a utility knife. A pry bar and tarpaulin are also useful for removing damaged materials and protecting the roof during repairs. Purchase high-quality materials that match the original roofing for a seamless finish.
Installing Replacement Shingles
Align new shingles with existing ones to maintain the roof’s uniform appearance. Secure them with roofing nails, ensuring enough overlap to prevent water infiltration. Apply roofing cement around the edges for more sealing against future wind damage. Double-check that all shingles are securely fastened and aligned.
Sealing and Waterproofing
Once the shingles are in place, inspect the roof for any gaps or exposed areas that could allow water penetration. Use roofing cement to seal these areas, ensuring complete waterproofing. Pay special attention to valleys, flashing, and other vulnerable spots where leaks commonly occur.
Regular Maintenance and Prevention
Regular maintenance is key to preventing future wind damage. Schedule periodic roof inspections, particularly after severe weather events. Keep gutters clean and remove overhanging branches that could pose a threat during high winds. Routine maintenance extends the life of your roof and minimizes the need for extensive repairs.
When to Call a Professional?
Not every roof issue is a DIY project. If the damage is big or you’re missing the right skills and tools, it’s a good idea to call a professional roofing contractor. Schedule a free estimate at https://georgiaroofadvisors.com, they’ve got the know-how and safety gear to get the job done right, reducing risks and ensuring top-notch work.
Prevention From Roof Wind Damage
Wind damage repair isn’t just about tools and skills, but also about staying safe. Follow this step-by-step guide, and you can tackle minor issues and keep your roof in good shape. But if things look pretty bad, it’s best to call in the pros. Being proactive with roof maintenance and quick repairs can save you time and money, keeping your home snug and secure against roof wind damage.
For more on this content, visit the rest of our blog!

